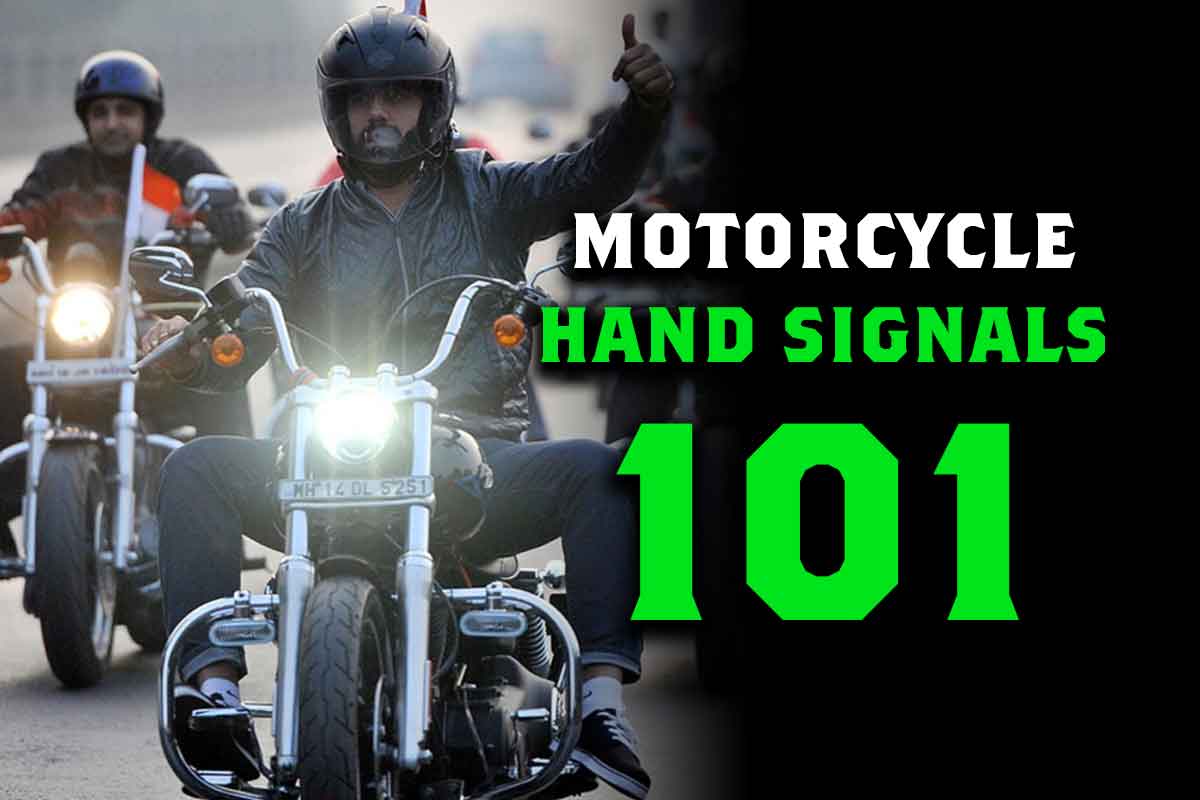
Biker Hand Signals 101: Learn the Language of Motorcycle Riders
Ever feel like you’re talking to a wall when you’re out on the road? Motorcycles lack the built-in communication of cars, leaving you vulnerable to misunderstandings. But there’s a solution: biker hand signals. These simple gestures act as a universal language for riders, ensuring everyone on the road is on the same page.
Imagine cruising down a winding highway with your group. Suddenly, you need to slow down. Without a turn signal, you’re left guessing if the rider behind you sees you brake. But with a quick hand signal, you’ve communicated your intention, preventing a potential accident.
Whether you’re riding solo or in a pack, biker hand signals are essential. They enhance safety, promote smooth group riding, and even allow you to warn others about potential hazards. So, ditch the guesswork and embrace the power of hand signals. They might just save your life.
Basic Biker Hand Signals: Essential Signals Every Rider Should Know

Mastering the basics of biker hand signals is crucial for every rider, regardless of experience level. These essential signals ensure clear communication on the road and contribute to a safer, more enjoyable riding experience.
Here’s a breakdown of the most important basic biker hand signals:
- Left Turn: Extend your left arm straight out, palm down.
- Right Turn: Bend your left arm at a 90-degree angle and clench your fist.
- Stop: Extend your left arm straight down, open palm facing backward.
- Speed Up: Extend your left arm straight out, palm up. Swing your arm up to signal speeding up.
- Slow Down: Extend your left arm straight out, palm down. Swing your arm down to signal slowing down.
- Hazard Ahead: Point down with the index finger of your right hand to indicate a potential hazard on the road.
- Blinker On: Open and close hand with fingers and thumb extended.
- I’m Okay: Form a circle with your thumb and index finger to indicate that you’re okay after a minor incident.
These are just a few of the essential biker hand signals that every rider should know. By practicing and using these signals regularly, you can improve communication, enhance safety, and enjoy smoother rides with your fellow riders.
Advanced Motorcycle Hand Signals: Beyond the Basics

While mastering the basics is key, expanding your repertoire of biker hand signals opens up a world of enhanced communication and control during group rides. Here are some advanced signals to elevate your riding experience:
- Follow Me: Arm extended straight up from shoulder, palm forward.
- Pull Off: Arm positioned as for right turn, forearm swung toward shoulder.
- Fuel Stop: Tap your gas tank with your hand to signal a needed fuel stop.
- Rest Break: Point to your head as if you’re sleeping to signal a need for a break.
- Change Leader: Point to the rider who will become the new leader of the group.
- Single File: Point your index finger up in the air to signal riding in single file formation.
- Two-Wide: Hold up two fingers in the air to signal riding two-wide formation.
- Staggered: Move your hand back and forth in a zigzag motion to signal a staggered formation.
These advanced biker hand signals demonstrate your commitment to smooth and coordinated group riding. By incorporating them into your communication repertoire, you contribute to a safer and more enjoyable experience for everyone involved. Remember, practice makes perfect! The more you use these signals, the more confident and comfortable you’ll become on your next group ride.
Group Ride Hand Signals: Coordinating Your Crew

Embarking on a group ride? Biker hand signals become even more crucial for ensuring smooth communication and coordination. Beyond the basics, mastering group-specific signals elevates your experience to a whole new level.
- Pass: Point forward with your index finger and then wave your hand to signal that it’s safe to pass.
- Closing Gap: Point forward with your index finger and then bring your hand towards you to signal that riders should close the gap.
- Thank You: Wave your hand to express gratitude to other riders.
- Formation: Different signals exist for single file, two-wide, and staggered formations. Use clear hand gestures to ensure everyone understands the desired riding pattern.
- Pace: Indicate speed changes with simple hand movements. Extend your palm up for acceleration and palm down for deceleration.
- Gap Control: Point forward and pull your hand towards you to indicate the need to close the gap between riders. Maintain a safe and consistent distance.
- Communication: Use signals like “Pull Off,” “Fuel Stop,” and “Rest Break” to inform the group of your needs and ensure everyone’s on the same page.
- Acknowledgment: A simple wave or thumbs-up goes a long way in expressing gratitude and appreciation to your fellow riders.
- You Lead/Come: Point forward with your right hand.
- Comfort Stop: Fist clenched with a short up and down motion.
- Drink Stop / Water Break: Tap your lips with your index finger.
- Cops Ahead: Tap on the top of your helmet with open hand.
By mastering these advanced group ride biker hand signals, you become a valuable member of the pack. You contribute to a more coordinated, enjoyable, and safe experience for all, making your group rides unforgettable adventures. Remember, clear communication is key, so practice your signals and be prepared to lead by example.
Tips for Effective Communication on the Road

Mastering biker hand signals is just the first step. To truly harness their power and ensure effective communication, follow these key tips:
Clarity: Use clear, unambiguous signals that are easy for other riders to understand. Avoid confusing gestures or variations.
Consistency: Use the same signals every time for each intended action. Consistency builds familiarity and reduces misinterpretations.
Visibility: Make sure your signals are visible to other riders. Choose clear hand positions and ensure your arm is extended sufficiently.
Practice: Regular practice is essential for developing fluency and confidence in using biker hand signals. Rehearse them alone and with other riders to build muscle memory.
Awareness: Stay aware of your surroundings and anticipate potential hazards. Use your hand signals preemptively to give other riders ample time to react.
Collaboration: Communicate clearly and collaborate with your fellow riders. Use hand signals in conjunction with verbal communication for maximum effectiveness.
By following these simple tips, you can elevate your biker hand signals to a whole new level. Remember, effective communication is key to a safe and enjoyable riding experience, for both you and your fellow riders. So, practice diligently, communicate clearly, and enjoy the ride!
Additional Motorcycle Safety Resources

Looking to expand your knowledge on motorcycle safety? Explore these valuable resources to expand your knowledge and practice your skills:
Online Resources:
- Motorcycle Safety Foundation: Provides comprehensive information on basic and advanced hand signals, including diagrams and video demonstrations. (https://msf-usa.org/library/)
- American Motorcyclist Association: Offers a detailed guide to hand signals, covering topics like group riding and emergency situations. (https://americanmotorcyclist.com/)
- Rhino USA Blog: Discover additional articles and tutorials on motorcycle safety and more at our blog. (https://www.rhinousainc.com/blogs/news/)
Video Tutorials:
- Motorcycle Hand Signals – Ultimate Guide: This informative video provides a clear and concise explanation of basic and advanced biker hand signals. (https://www.youtube.com/watch?v=mwLP308f1q8)
- Group Motorcycle Riding Hand Signals: This video demonstrates various hand signals specifically designed for smooth and coordinated group rides. (https://m.youtube.com/watch?v=wSHXslQGg9A)
- Motorcycle Hand Signals: Learn the Basics in 5 Minutes: This quick tutorial offers a fast and easy overview of essential hand signals for solo riders. (https://www.youtube.com/watch?v=mwLP308f1q8)
By utilizing these valuable resources, you can further enhance your understanding and application of biker hand signals and more. Remember, mastering this crucial communication tool contributes to a safer and more enjoyable riding experience for everyone on the road. So, explore, learn, and practice, and become a confident and effective communicator on your next motorcycle adventure!
Conclusion: Stay Safe and Ride Smart

Congratulations! You’ve taken a giant leap towards becoming a master of biker hand signals. By investing your time and effort in learning and practicing these essential communication tools, you’re contributing to a safer and more enjoyable riding experience for yourself and fellow riders.
Remember, clear and consistent communication is key on the road. Utilize your biker hand signals preemptively, stay aware of your surroundings, and always prioritize safety.
From high-quality ratchet straps to essential accessories and informative resources, Rhino USA is your one-stop shop for all things motorcycle-related. We believe that every ride should be a thrilling adventure, and we're dedicated to equipping you with the best possible products to make that a reality.
So next time you hit the open road, remember Rhino USA. We're here to support you every mile of the way.
Ride safe,
The Rhino USA Team
- Choosing a selection results in a full page refresh.

